Related Articles
Stay up-to-date with all of our latest news!

Trying to nail that smooth finish to your wax? It’s possible! We’re here to help you achieve salon-worthy results. Whether you're new to waxing or looking to refine your routine, these tips will help you master the art of a clean at-home wax.
1. Prep Like a Pro
Before you even touch that wax, make sure your skin is squeaky clean and free of oils, lotions, or sweat. For top results, gently exfoliate a couple of days beforehand, but don’t exfoliate on wax day as It might leave your skin a little too sensitive and we’re having none of that!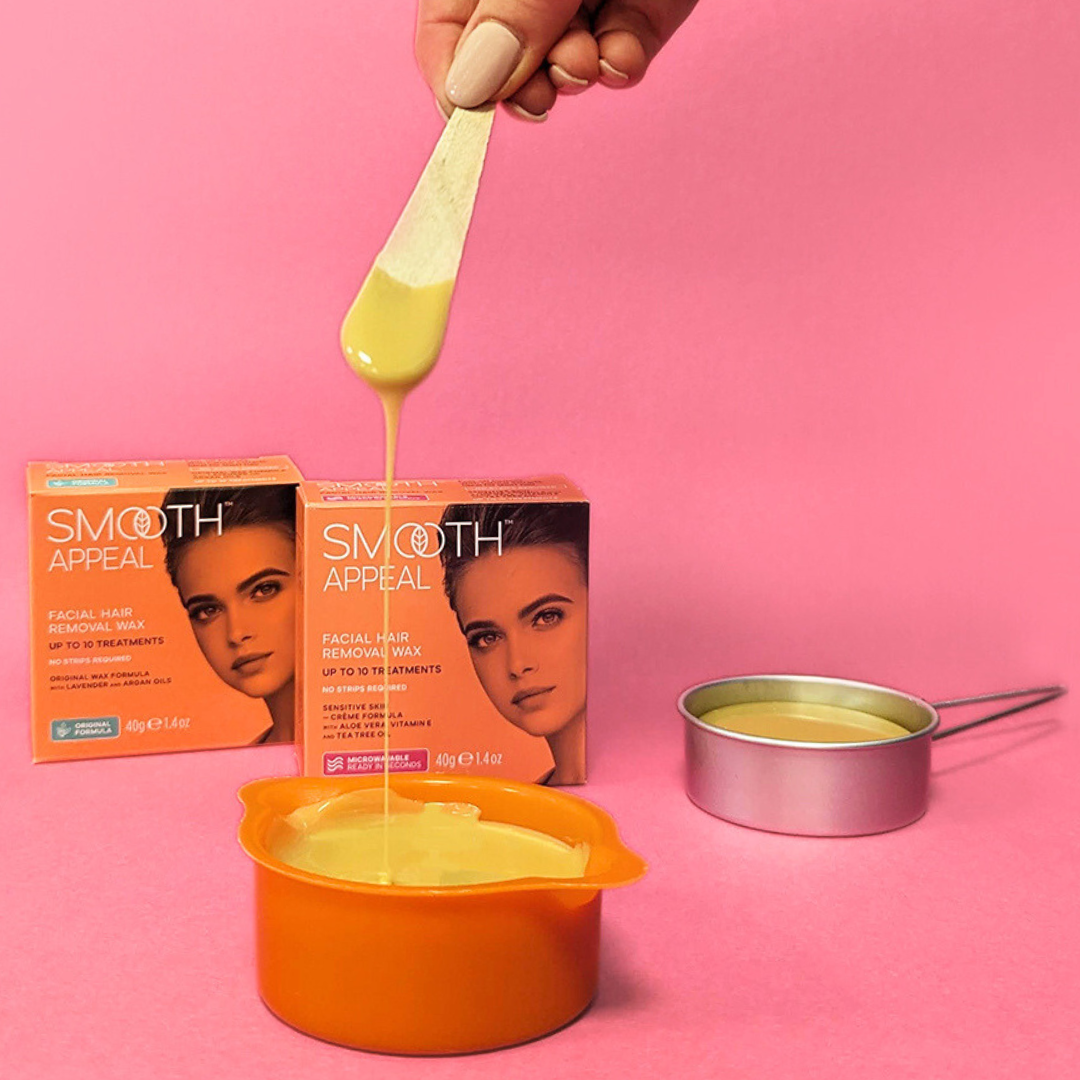
2. Choose Your Fighter
Original Formula Wax Kit or Microwave Wax Kit Whether you prefer to heat your wax on the hob or in the microwave, they’re both great, hassle free options that’ll make waxing at home accessible without having to buy the bulky equipment. Oh, and don’t forget to patch test—we’re here for smooth vibes, not surprise reactions.
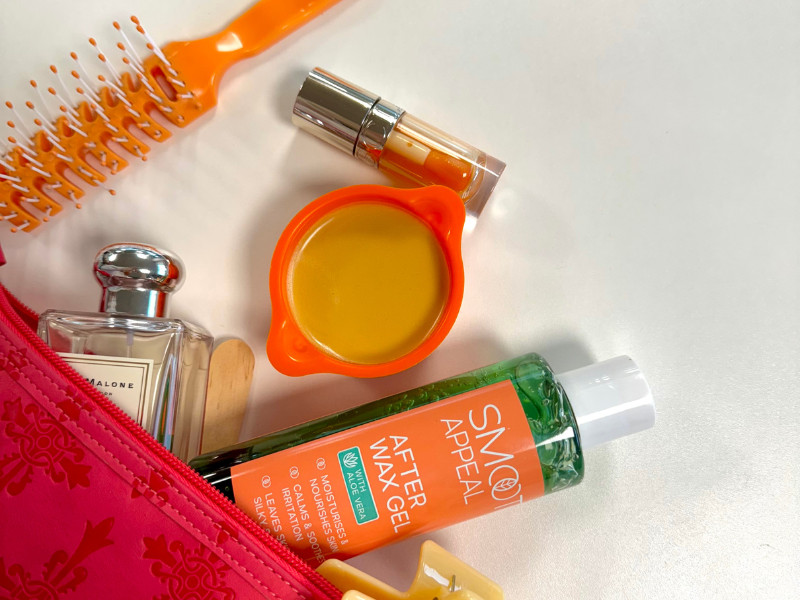
3. Get the Texture Right
If it’s really runny and swashing about the place, it’s probably too hot to apply to your skin. If there’s resistance when mixing, like chocolate spread, then it’s starting to set and won’t be as effective. You’re looking for a smooth, honey-like consistency that’ll glide on without making a mess!
Waxing works best when you follow this rule: apply in the direction of hair growth…
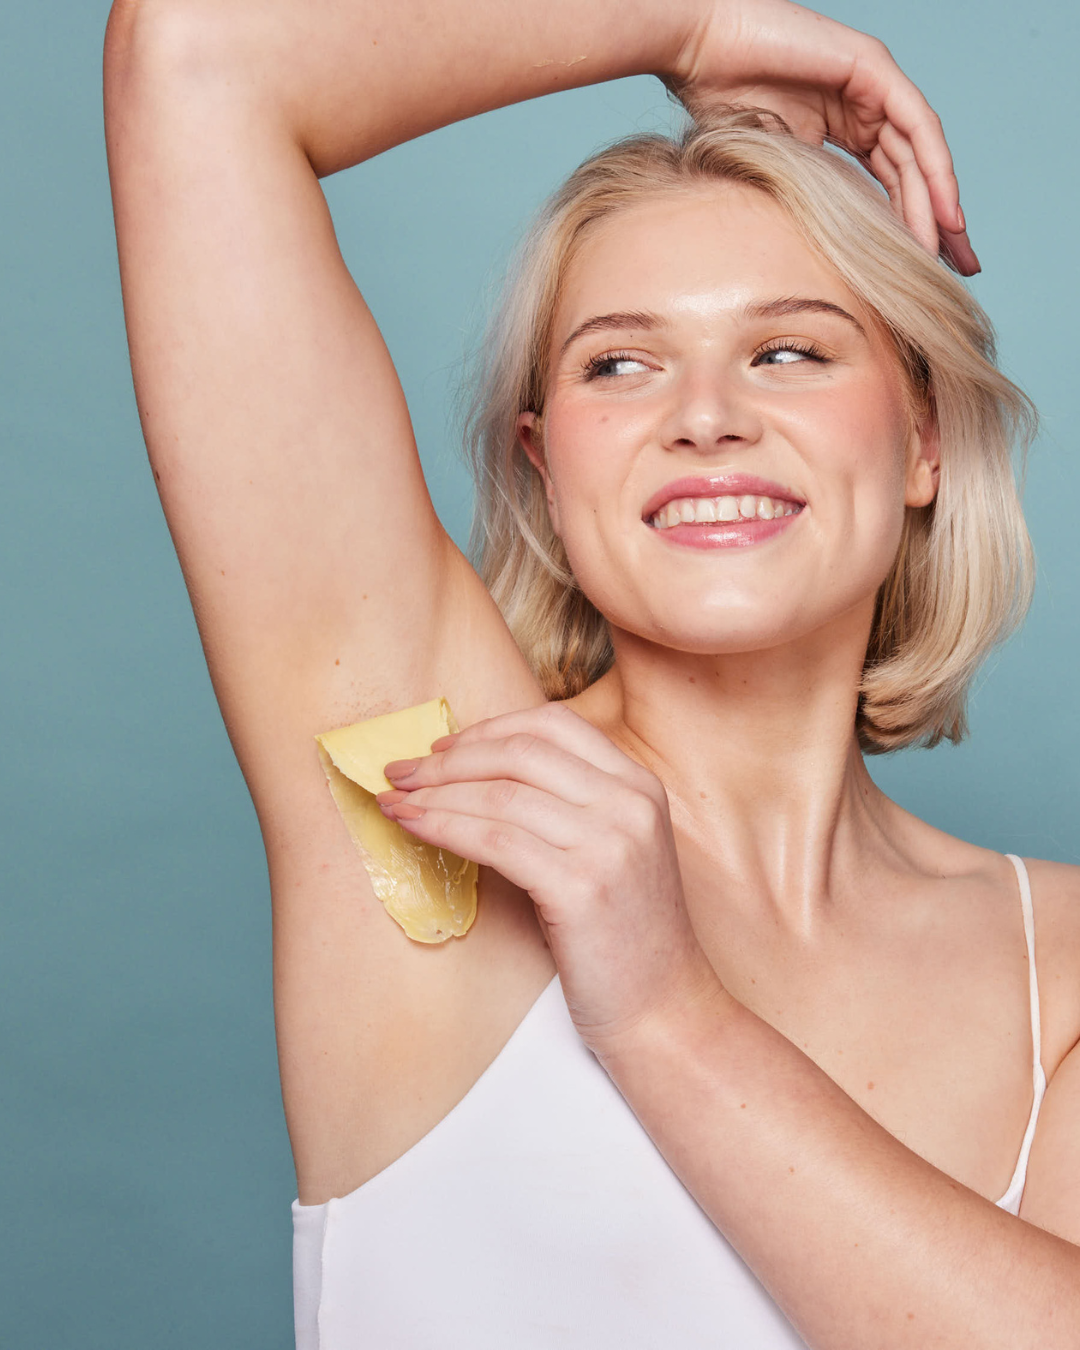
5. And Pull!
When pulling back your strip, use your finger to flick back the edge of the wax to get a good grip and then pull in the opposite direction. This is the secret sauce to grabbing those pesky roots and keeping your skin smoother, longer. Check here to see it in action.
6. Order. Order.
Plan where you want to start to get the most out of your waxing window. When waxing brows, chin and upper lip, you could probably smooth it on the areas you want before going back around to wax off. Then, if needed, you can go and tidy up any areas you’ve missed. If you’re working on larger areas, like underarms, you’ll want to spread, then pull until one side is complete before moving onto the other.
7. Temperature Check, Please!
Again, on larger areas like bikini like and armpits, your wax pot might start to cool down before you finish so keep an eye on that texture and pop it back on to heat for a few seconds before getting back in the game.
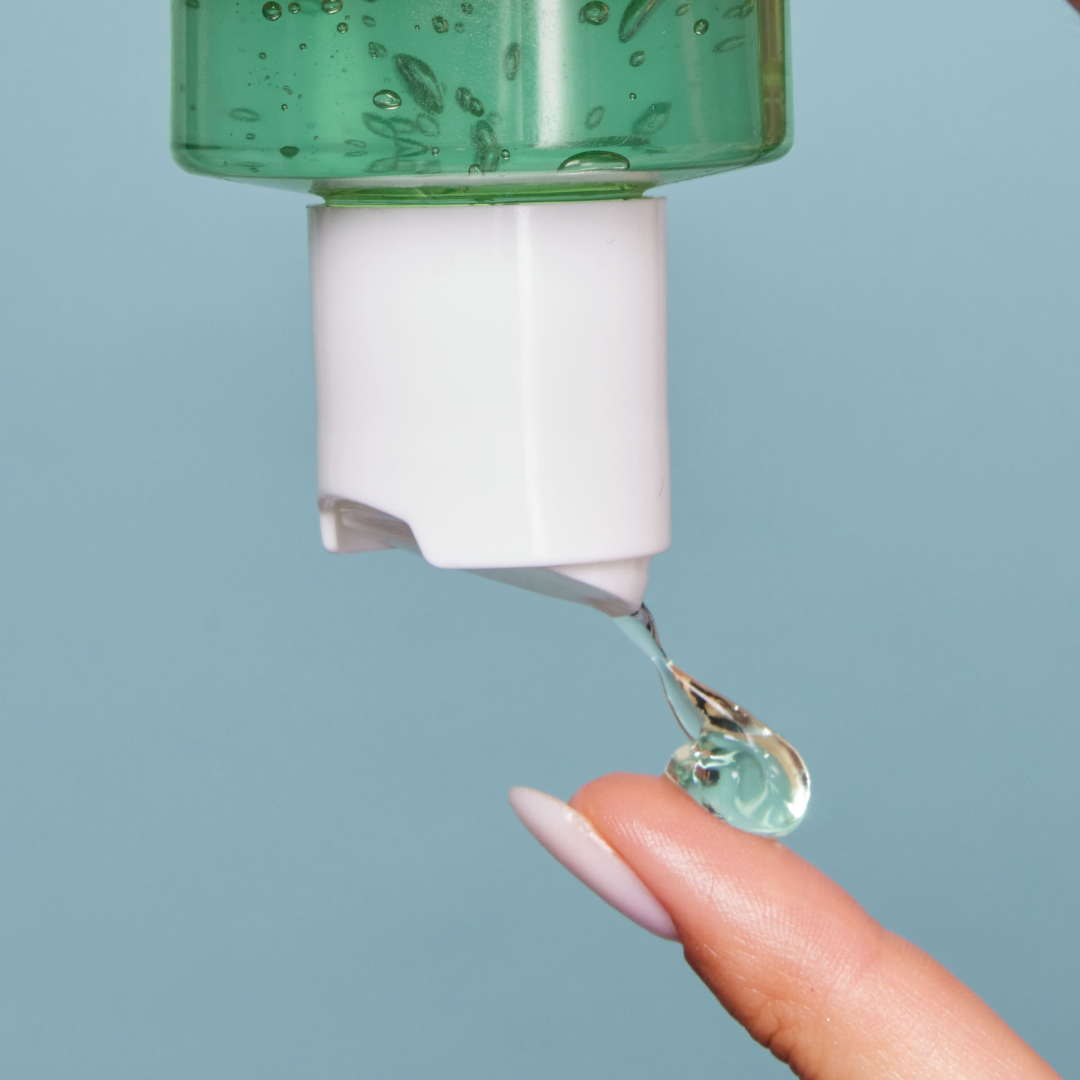
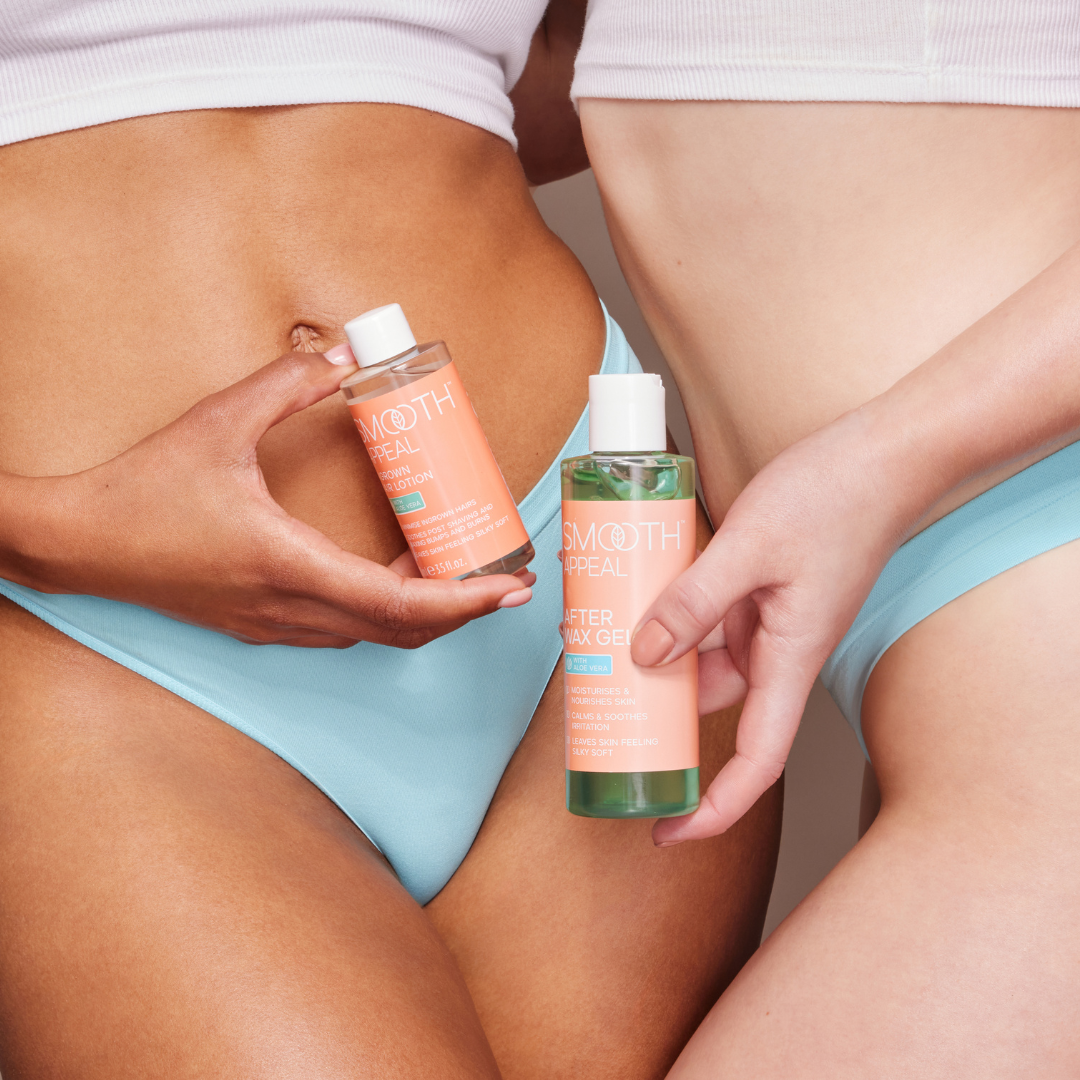
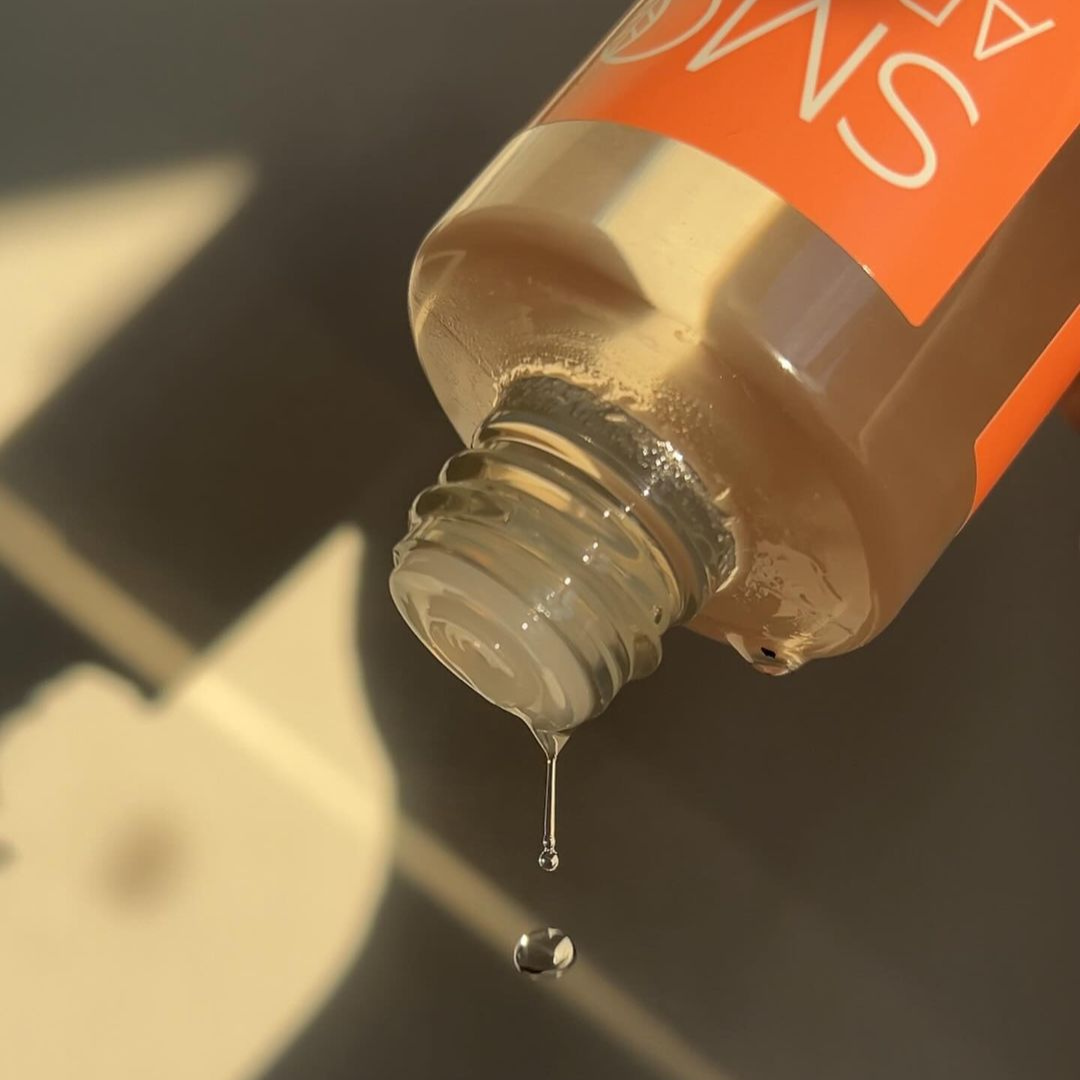
8. Soothe That Skin
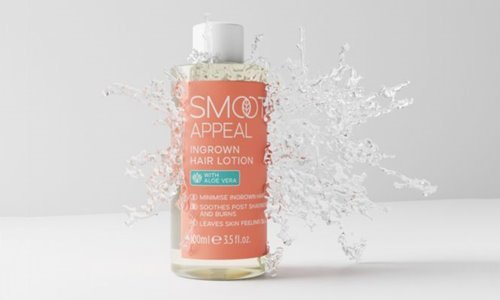
Post-waxing is when the magic happens. Slather on Smooth Appeal’s Post-Wax Cooling Gel—aloe vera is your skin’s new bestie. And please, avoid exfoliators and perfumed products on that area for at least 24 hours. Your skin needs some R&R.
With these tips, you’re officially ready to boss your at-home wax. Remember, practice makes perfect, so don’t sweat the small stuff. You’ve got this, smooth operator!
Ready to get started? Smooth Appeal’s at-home waxing kits are here to make your life easier. Click here to grab yours from Amazon and enjoy the salon-quality results without leaving your house!
Spread the Bblonde® love
Stay up-to-date with all of our latest news!